How to Record a Microsoft Teams Meeting

You may be new to Microsoft Teams or a veteran user. Whatever your experience, you should know how to record a Teams meeting. Recording individual and group video meetings helps maintain accuracy and focus. And, since there are several different ways to record meetings, we’ll explain how to record a Microsoft Teams meeting in this article.

Can You Record a Teams Meeting?

Yes. As soon as you know how to record a Teams meeting you can use this feature to capture all on-screen activity, audio, and video. Users have different options for recording. Caption.Ed is one of those options and is a simple and easy way to record meetings. Other options include using the built-in screen recording feature in Teams. Users of Microsoft Office 365 with Microsoft Stream can store their built-in screen recordings in their OneDrive or Stream repositories. Usually, they should appear in the following locations: 

  • On the meeting chat or channel conversation
  • In the Recordings tab within Teams
  • Inside the meeting organiser’s Stream, OneDrive, or Sharepoint

Teams will keep any recordings put in local storage (meeting chat or recording tabs) for 20 days. MS Teams will record meetings for up to 4 hours or 1.5 GB in size. The recording ends and restarts when users reach this limit. 

It’s worth noting the number of members you can add to an MS Teams meeting can be from 300 up to 10,000, depending on the type of MS 365 plan installed. When all members are part of an MS Teams group, they should find the meeting video saved where everyone can view their recorded meetings. Any external guests or third-party meeting attendees outside the group or organisation can access meeting recordings when hosts share an encrypted link to the recordings. 

Who Can Record a Teams Meeting?

Meeting organisers and people in the same organisation can record a Teams meeting or access a meeting using the MS Teams log-in credentials. Only one person can record a meeting at a time. 

It’s useful for all members to know how to record a Teams meeting using MS Teams. This way, they can record meetings or host their own and allow all members to access recordings. Later in this article, we’ll explain how to record and transcribe a Teams meeting using Caption.Ed.

The Ultimate Guide to Neurodiversity in the Workplace

How to Record a Teams Meeting With the Built-in Option

In this section, we’ll explain how to record a meeting in Teams. There are different options to select when recording meetings. A key option is using the built-in Teams screen recorder. This is a convenient way to capture recordings. But you’ll need to have Office 365 Enterprise installed with the E1, E3, E5, F3, A1, A3, A5, Business Essentials, M365 Business, or Business Premium. 

Some points to be mindful of include obtaining consent from all meeting attendees to record. You could highlight this when sending the meeting invitation, or announce it at the start of the meeting. You may also want to assign a specific note-taker to capture key points via an established note-taking method like Cornell, Outlining, or Sentence methods. Doing so can help with editing your meeting recordings and planning how you’ll share them afterward. 

The built-in option is available through MS 365 across Windows laptops, Mac, or Mobile devices. 

How to Record a Microsoft Teams Meeting on Windows With the Built-in Option

Follow these steps to record an MS Teams meeting via the built-in option on a laptop, PC, using Microsoft 365. 

  1. Launch the MS Teams application from your desktop or join a meeting.  
  2. Click on the ‘More actions’ button in the toolbar – the one that has an ellipsis symbol.  
  3. Select ‘Start recording’ from the dropdown menu. All meeting participants should receive a notification that you’re recording the meeting. 
  4. Click on ‘Stop recording’ to end the meeting. You can use the ellipsis or ‘More actions’ button. MS Teams should process and save the meeting once you hang up. 

How to Record a Microsoft Teams Meeting on Mac With the Built-in Option

It’s possible to install Microsoft Teams on a Mac via the MS Teams download page. Follow these steps to record a Microsoft Teams meeting on a Mac using the built-in option.

  1. Launch MS Teams to start or join a meeting. 
  2. Select the ‘More actions’ button from the toolbar – the one with an ellipsis symbol.  
  3. Select ‘Start recording’ from the dropdown menu. All meeting participants should receive a notification that you’re recording the meeting.
  4. Click on ‘Stop recording’ to end the meeting. You can use the ellipsis or ‘More actions’ button. MS Teams should process and save the meeting once you hang up. 

How to Record a Teams Meeting on Mobile

It is possible to record a Teams meeting directly from your phone. But the app may have more limitations than a desktop application.  

  1. Go to the meeting controls and select the ‘More’ button.  
  2. Select ‘Start recording’. All meeting participants should receive a notification that you’re recording the meeting.
  3. Click on ‘Stop recording’ to end the meeting. You can use the ellipsis or ‘More actions’ button. MS Teams should process and save the meeting once you hang up. 
Inclusive Workplaces 🧩

Your go-to monthly newsletter for creating inclusive environments for neurodivergent talent in the workplace

How to Record a Microsoft Teams Meeting With Caption.Ed

Caption.Ed Scribe is a bot that can automatically join Microsoft Teams meetings to transcribe and caption online Microsoft Teams meetings. Not only can you get the speaker labels for each person speaking, but you can easily get captions just by allowing Caption.Ed Scribe to join the meeting from your browser.

To get started, you need only the Microsoft Teams URL. This is typically shared in the invitation email, but the meeting host can also obtain it.

Once you have the Microsoft Teams URL, go to Caption.Ed in your browser and log in.

Once logged in, click “Record Session”, choose “Online Meeting”, and enter the meeting URL.

The Caption.Ed Scribe bot will join the meeting shortly after pressing “Join meeting“.

The host may need to admit Caption.Ed Scribe to join the meeting. Once they have accepted it, Caption.Ed Scribe will start recording the session and generate captions in Caption.Ed.

Additional Tips for Success

You should have a better understanding of how to record a Teams meeting. But what other steps could you take to get the most out of your meeting recordings? Here’s a bulleted list of tips and advice to help you maintain professionalism, capture all meeting details with accuracy, and be content when revisiting your meeting recordings. 

  • Consider visuals: Meeting hosts and speakers should face their screens when talking and consider a plain or simple background.  
  • Speak and listen well: Ask participants to stay on mute when they’re not speaking. As with all Facetime calls, it’s best to test sound and microphones before meetings.  
  • Use headsets: Using headsets can increase audio quality and reduce any risk of interruptions and background noise.  
  • Add captions: Adding captions boosts comprehension and reduces misunderstandings. Captions also make meetings more inclusive for neurodivergent individuals and the 18 million people in the UK with hearing loss.  
  • Manage recordings: Microsoft Stream, OneDrive, or Sharepoint should save all recordings. If you’re using Caption.Ed, the software will keep recordings for you.
  • Edit longer recordings: Meeting recordings that are longer to digest may be better off cut down in the Microsoft Stream editing suite.  
  • Back-up recordings: You may want to keep more important recordings or back them up with copies in a second, external storage unit such as a hard drive. 
Dr. Richard Purcell

Rich is one of the Founders and Directors here at CareScribe. Rich has a passion for healthcare and assistive technology and has been innovating in this space for the last decade, developing market leading assistive technology that’s changing the lives of clients around the globe.

Our Products

Levelling the playing field for people with disabilities.

Our small but mighty team builds leading-edge software that people love. We pride ourselves on a user-led approach to product design. The voice of the customer shapes what we create and that’s exactly how great assistive tech should be made.

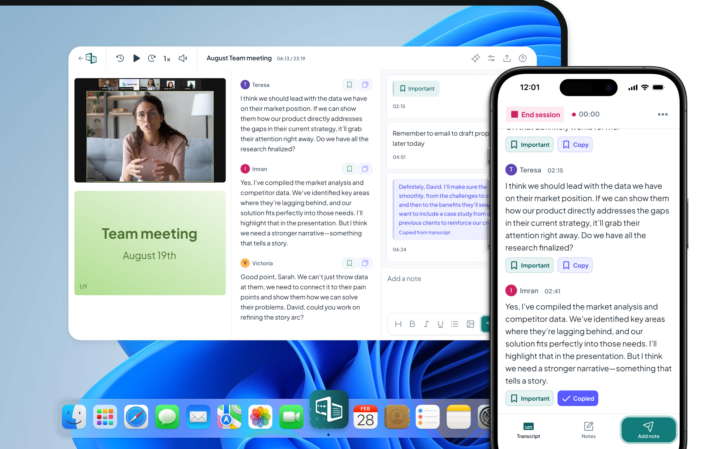
An image of the mobile and desktop interface of Caption.Ed

A game changer in
accessibility and productivity.

Visit captioned’s website
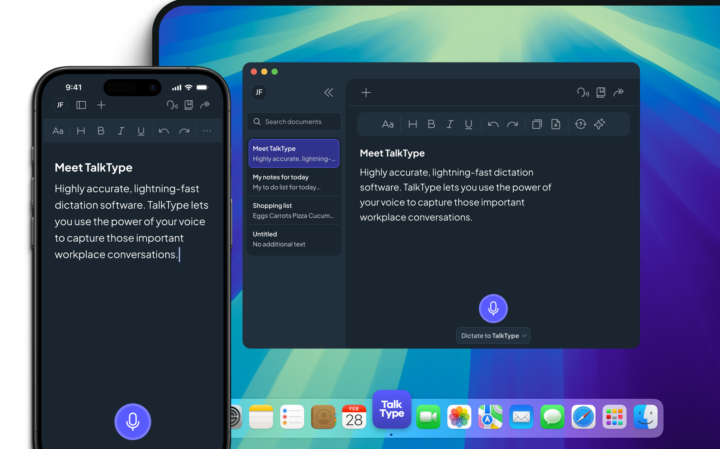
An image of the mobile and desktop interface of TalkType.

Dictation software that doesn’t sacrifice accuracy.

Visit TalkType’s website